Monday, April 29, 2013

Introduction to Opti-Coat: Too good to be True?

We have all been there, the moment when your freshly polished and swirl free black car gets its first scratch and or swirl mark. Its so infuriating and enough to make many of us refuse to even purchase another black vehicle. This has only become more common with these new soft clear coat water- based paints. BMW's Black Sapphire Metallic and Porsche's Black are some of the largest offenders with their super soft paint that even scratches up with 85% of microfiber towels. 

To help contend with these situations, Optimum Polymer Technologies has come out with Opti-Coat, a paint coating that hardens to become a crystal clear layer of protection over any vehicle's paint, plastic, and metal trim. I was very skeptical at first, as I have heard of many of these and have always been left wanting to the point where I ignore most of them. But I love Optimum's products and was intrigued with this offering. The positive reviews from some very respected detailers across the USA only helped solidify this and I decided to speak to Optimum about becoming an Optimum Opti-Coat Pro installer. 3 days later the package arrived and we got to work...

The Vehicle:

The test vehicle we were going to install on was a brand new 2013 Porsche Cayenne GTS. In the dreaded Black Metallic (scratches with anything). Since Opti-Coat is a permanent coating, application should only be applied over properly polished paint. I was hoping the fact that this Cayenne only had 40 miles on it when I picked it up would ensure that. Once again, I was wrong. Dealership prep washes had done a number on this thing already...

(some nice swirls already induced into this paint)

(more marring on the hood, this was all over the vehicle)

Because of these swirls and marring, we needed to do a proper paint polish correction before applying the Opti-Coat. So after a thorough wash of Dawn to strip all the waxes and oils on the paint as best as possible, and a klay to remove some small contaminants on the lower panels, I got down to polishing. The one good thing about soft clear coats is they do not usually require much to polish out the fine swirls. You  just have to be sure to use a quality finishing polish to ensure no holograms remain afterwards. Choose a quality product and use proper polishing technique. I did a few test panels with a PC7424 and 3M Fine Cut Machine Polish and came away very impressed with the results. Besides for a few deeper scratches which I used compound on, the paint came out quite well. 


(quick comparison showing the difference between polished fender and swirled front bumper)

(every panel was polished in this manner over about 6 hours)

(finally finished polishing)


In addition to the Opti-Coat, this client wanted to install clear bra over the cars front end. We now offer and prefer fully panel coverage clear bra. This not only ensures full protection of the panel, but also avoids the awful lines usually seen on all clear bra installs. By utilizing the latest technology in the industry, our installers only use XPel Ultimate film which is a self healing clear coated bra. It looks far and away better than all other films on the market and basically is completely undetectable unless you know there is clear bra installed.

So before we installed the clear bra, we rinsed the entire vehicle down with Optimum No Rinse and a diluted mix of  alcohol to remove all polishing dust, oils, and fillers. This ensures we have a properly prepped paint surface that is not hidden under paint fillers. After a proper wash and dry, we wax the panels that are going to receive the clear bra and let the pros do their thing. After a 3 or so hour installation, the entire hood, fender, mirrors, front bumper, headlights, and rear hatch strip were covered in clear bra.

(fender being clear bra, completely undetectable once finished)

Time to Opti-Coat:

So the next morning it was time to apply the Opti-Coat. The paint was pristine and bare, requirements for the Opti-Coat to bond properly to the paint. Installation isn't hard, but does require concentration to ensure no high spots or smudges in the opti-coat. Only about 10cc or so need to be used to cover the entire vehicle, so this is not a product to go heavy with.

 (Opti-Coat ready for application, a small bit goes a long way)

After applying Opti-Coat to the paint, clear bra, headlamps, and tailpipes we let it cure over the next few hours and got to work on prepping the wheels and brakes for Opti-Coat as well. Because of its strong chemical bond and amazing ability to repel dust and dirt, Opti-Coat is perfect for wheels and brake calipers and makes life much easier down the road for cleaning them. 

(Cayenne GTS lifted and wheels all removed for proper cleaning and Opti-Coat application)

(brake caliper Opti-Coated and curing)


(don't forget the inner barrels of the wheels, all Coated to ensure easy cleanup in the future)

(all the outside wheels looking good)

The Outcome:

After Coating all the wheels and calipers, I left everything cure overnight to ensure proper bonding to all the surfaces and mounted and torqued all the wheels(118lb ft on Cayenne) in the morning.  After another paint inspection with halogen lamps and a quick coat of Optimum Car Wax, I moved the car out into the sunlight to see what we had. The sun never lies and I have to say the results were pretty incredible. Very optically clear reflection and a slick surface. I personally prefer a deep reflection provided by a real carnauba wax, but this client loves the reflection and we can always top it later on with a solid carnauba to add that depth of color. Here are some shots...


(clear bra on rear hatch area for luggage scrape protection)

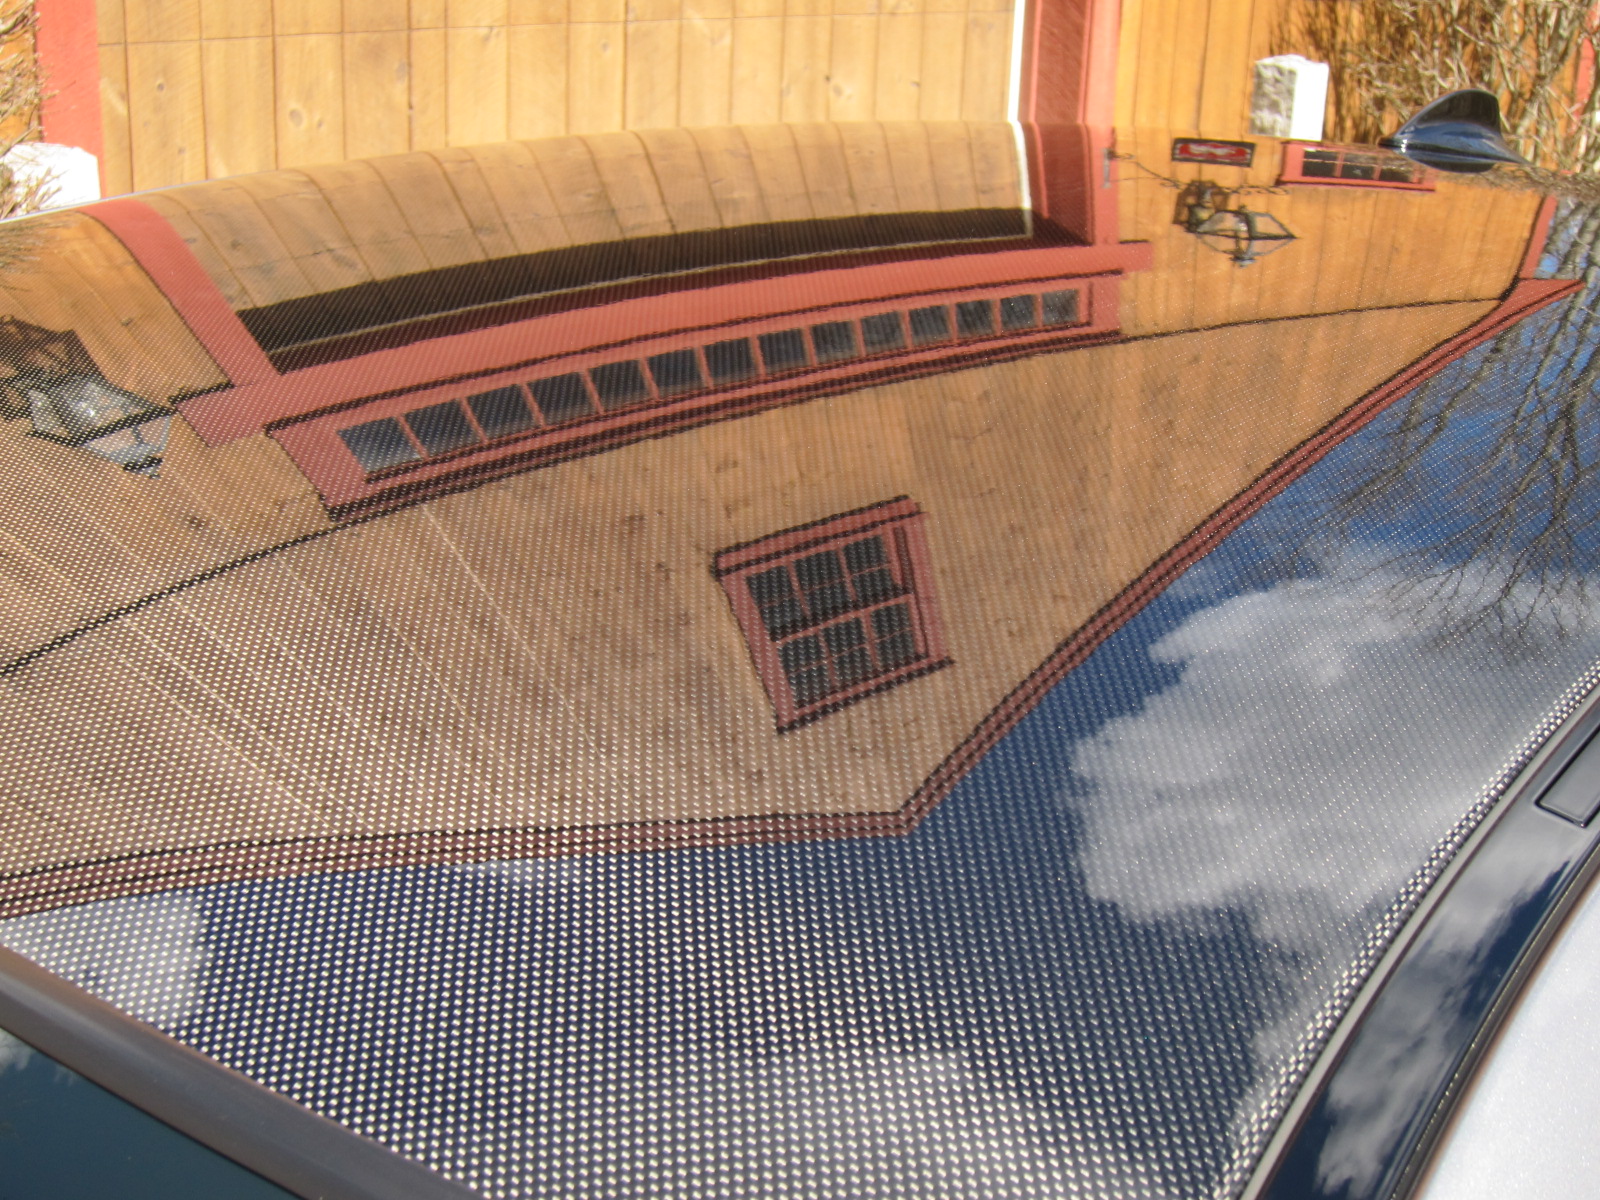
(clear bra full coverage on hood, very clear and undetectable)

(clear bra fender and hood- that's moisture residue on the hood that evaporates over a week after install)

(amazing reflection in paint)


So final thoughts; I am quite impressed and will be offering this to all my clients. The prep work is critical, but to have a thick layer of protectant over your car's soft clear coat for 5+ years is fantastic. The clarity and reflectivity are fantastic on all surfaces and application is easy to modulate. The negatives are really only the lack of depth of color (which can be cured by topping with a quality carnauba) and the heavy time to properly prep the paint and cure time. But at the end of the day, its fantastic to be able to wipe a black car down with a microfiber and not have to worry about marring the surface.

Sunday, April 21, 2013

A whirlwind month of Activity...

First off, my apologies for being so delayed in getting a new blog entry up here. We knew March and April would be a busy month, but it has surpassed our expectations. With Tiff leaving for Singapore and Jakarta shortly after we wrapped the Aston, we were down a person and missing out on some awesome lunches. March and April are always busy as the sports cars come out of hibernation and the normal bunch all want their summer tyres on and service performed before the weather turns nice for vacation. Rather than posting a bunch of small blog entries with certain jobs, I am going to just highlight a few fun jobs that have come through over the past month or so. 

The day we delivered the wrapped Aston Vantage S, we were contacted by a client who wanted to sell his Mercedes C63 and put it back to stock. I LOVE the C63 (fantastic car that is a blast to drive with all its power and neutral handling when drifting), and this version was nicely upgraded over stock. We had lowered the vehicle with some H and R Sport Springs, added some serious rubber with 285 rear tyres on Yokohama Advan F15 forged wheels, and of course increased the power. With downpipes, race cats, an x-pipe, and an upgraded tune from Jailbreak Tuning, this C63 was putting down about 550bhp (450 is stock) and was a monster in terms of acceleration and sound. To sell it, the client wanted it back to stock so we had to remove all of these in addition to a quick detail and cleanup. 

Badge of honor on these engines. 6.2 liter engine is a gem

Shot comparing the stock exhaust left to the upgraded downpipes and x-pipe we had to remove 

 
Say goodbye to the HR springs :,-( 
 
 
Back to stock and ready to head to dealer... we will miss you C63

And Then the Details Started Coming In:

As soon as the weather broke for the better here, the calls for details started coming in. Since our details usually take 2 days at a minimum due to our discerning standards and processes, we tried to squeeze a couple in each week between larger jobs. Many weekends were spent polishing...

2010 Range Rover Sport Supercharged:

2010 Range Rover Sport Supercharged- 2 step Zymol Titanium Detail along with Klasse aplication for more durability. Lot of klay used on this lady along with a one step machine finishing polish...


2010 BMW M3 ZHP:

2010 BMW M3 ZHP: 2 Step Zymol Titanium Detail (Klasse, 1 Step Machine Polish, klay, etc)


The things you find in a race car driver's trunk (Arai helmet, Louboutin heels), even broke his heel practicing heel and toe techniques: so he says...

BMW's new trend of carbon fiber roof always looks fantastic clean...

2013 Porsche 991 C2S:


2013 Porsche 991 C2S: 2 Step P21S Wax (Klasse, Klay)

Such a gorgeous car and shape...


2008 BMW M3:

2008 BMW M3: 2 Step Zymol Titanium  (3 bars of klay!, Klasse, Optimum)


2002 BMW M5:

This one need some TLC on interior and exterior, terrible fading and swirls. Unfortunately client only wanted minimum cleanup, so only was able to do a one step machine polish which worked quite well given the circumstances.

Still one of the best interiors ever created in my opinion...

 What a 1 step Final Polish can accomplish, needs a lot more polishing to meet our usual standards...


2000 BMW M Coupe: 

Just an interior and leather restoration on this beauty. Will be back in a few months for a proper polish and paint seal. 

2000 BMW M Coupe: interior and leather restoration (Leatherique, Zymol Treat, Optimum)

Love the retro dash gauges.  Leather really came back well with some treatment.


2001 BMW M5: 

Another leather treatment process on this dried out leather.

A nice comparison shot showing how well the leather came back after some Leatherique and Zymol...


The Repairs Continue As Always:

As usual, we continued to do service and repairs on a daily basis. A couple "fun" repairs included a nice and annoying valve cover gasket repair on a 2008 BMW e92 328 with only 47k miles! BMW's quality has really fallen off over the past decade. Sad to see such a great marque go the way of VW. These 2.8 liter engines like to leak out of their valve-tronic gaskets and soon cause the whole valve cover to leak. A very tight and annoying repair if I must say. There is almost no room to get the valve cover on or off against the rear cowl...

Valve-Tronic leaking seal that causes this whole mess...

BMW inline 6 in all its glory, can see how tight it is on the back near that cowl. 


The next repair that I won't forget anytime soon was this 2001 BMW e39 M5. I love these cars but this job turned into a nightmare quickly. Thanks to New England's salt issues, this car's central exhaust and transmission cross braces were rust city. To the point where 7 out of the 8 exhaust studs on the manifolds broke in half. We spent a fun 3 days of pounding, heating, soaking, grinding to get the broken studs out. But thankfully, our work paid of and the car left with a new driveshaft guibo, complete service 2, and all engine codes remedied. 


One proper exhaust stud, that is whats left of the other 3 next to it... Sore arms for a week after this job...

With some major potholes around these parts after such horrid winter weather, one of our client's was unfortunate enough to hit a crater that touched Shanghai on the other side it was so deep. His 2011 Subaru WRX STi took the hit but not without bending his aftermarket camber plates in half. The plate did its job and took the brunt of the impact saving the car's shock tower but required an immediate replacement. After receiving the new camber plates, we had to reinstall the suspension and set up some new alignment specs to try to make the car more neutral in its handling at the limit for autocrossing events. 

Hunter Alignment setting out custom specs for this STi suspension...

And finally after a long wait of over 5 months, our 2012 BMW 335xi client's Hood and diffuser arrived from Duke Dynamics. While the quality looks decent on the products, the wait was far too long and left a sour taste in my client's mouth. With the diffuser finally arriving we vinyl wrapped it in some 3M carbon fiber vinyl and installed his Eisenmann Quad Exhaust. 

2012 BMW 335 rear diffuser wrapped and installed around an Eisenmann Race Quad system...


Lastly, as a teaser to our next entry, our beloved Audi R8 owner showed up with a new ride. Expect more on this toy over the next few months, and hopefully more regular blog updates...